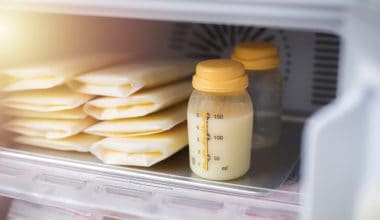
If you are a breastfeeding parent or plan to breastfeed, chances are, you’ve read up on all the nutritional benefits breast milk has for your baby. Breastfeeding is great for both parent and baby, and breastfeeding parents may sometimes find themselves with much more milk than their baby can eat.
Making breast milk soap is a great way to use up breast milk and breast milk that has gone bad or is about to. Breast milk that is unfit for your baby’s consumption, such as milk expressed after caffeine, alcohol, or drug intake, can also be used in breast milk soap.
This article will discuss 2 methods for making breast milk soap, as well as the benefits of using breast milk soap.
Benefits of Breast Milk Soap
Breast milk has long been used topically to treat eczema, diaper dermatitis (rash), and conjunctivitis because of its accessibility and lack of negative side effects (Witkowska-Zimny et al., 2019). One study even shows breast milk to be just as effective at treating diaper rash as a hydrocortisone diaper cream (Farahani et al., 2013). However, another study reported that topical application of breast milk has no effect on spots of atopic eczema (Berents et al., 2015).
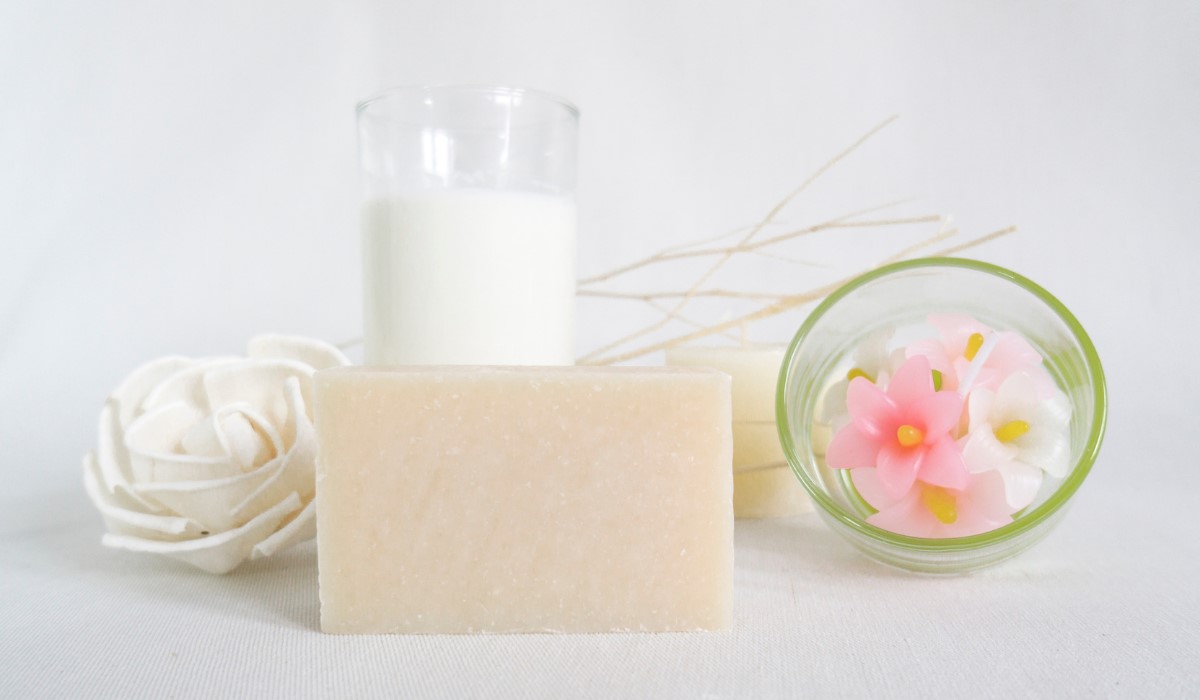
Breast milk also has high fat content, making it a hydrating option for topical application. Soap made with breast milk is gentle enough for a baby’s sensitive skin and can be used by the whole family.
Another benefit to making your own breast milk soap is being able to customize it any way you wish. You will be able to control exactly what goes into the soap and avoid unnecessary additives which may hurt a baby’s sensitive skin.
How to Make Breast Milk Soap
1. Melt and Pour Breast Milk Soap
The melt and pour method of making breast milk soap involves the use of a pre-made soap base which is melted down over the stove or in a microwave, after which the milk is added along with other ingredients you may like.
Equipment Needed:
Silicone Soap Molds
Measuring Spoons
Heatproof Bowl for Melting Soap
Whisk or Spatula
Ingredients:
1 pound/450 grams Melt and Pour Soap Base
½ cup Room Temperature Breast Milk
½ tsp Honey (as a natural preservative)
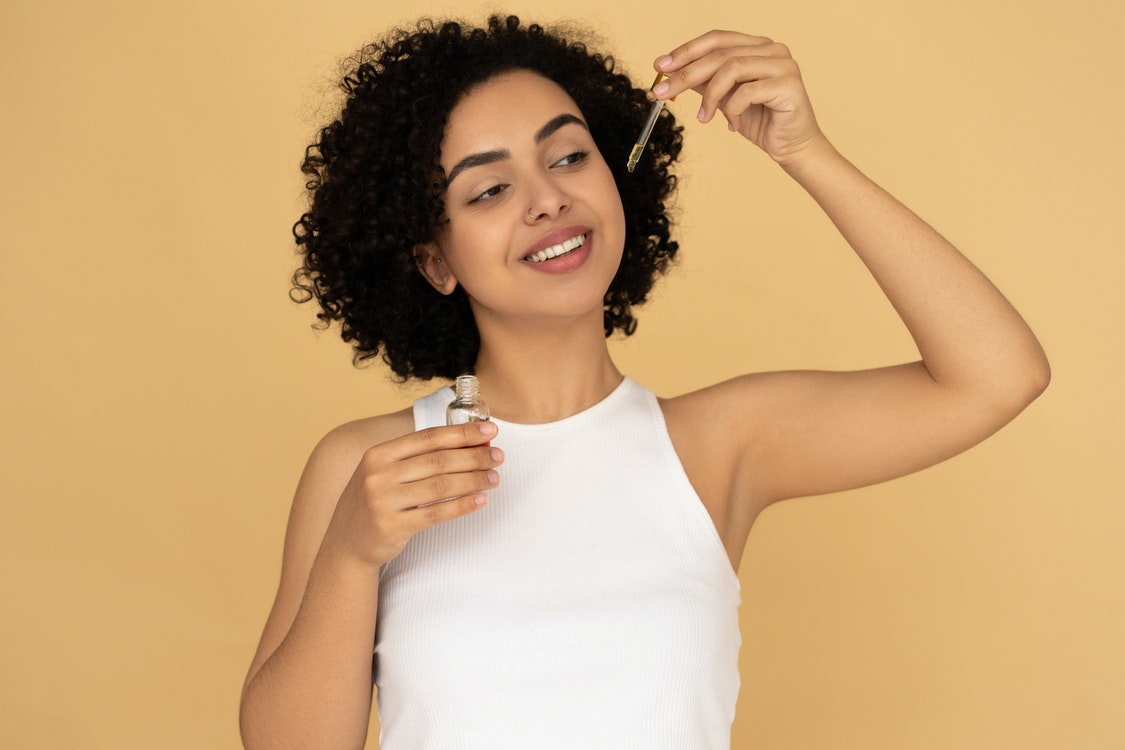
1 tsp Topical Grade Baby-safe Essential Oils (optional)
3-5 drops soap fragrance and colorant (optional)
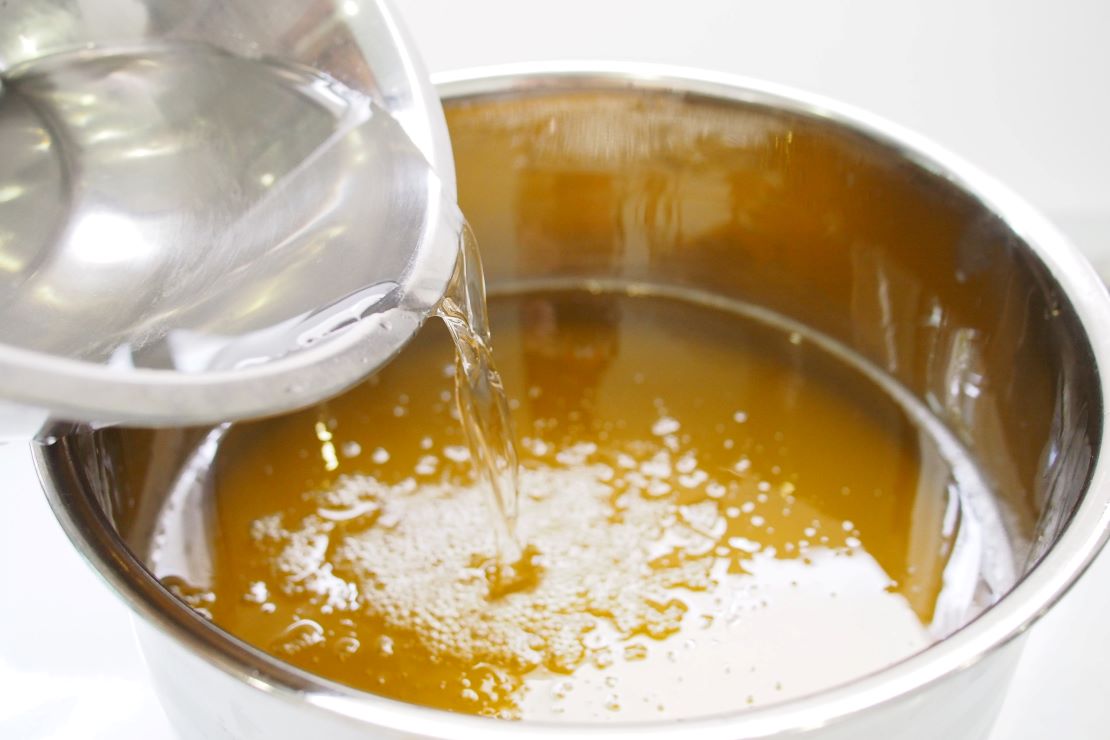
- Melt the soap base on the stove over a double boiler or in the microwave in 30-second increments, stirring in between each increment.
- Let the melted soap rest until cool enough to touch so as not to scorch the breast milk.
- Pour breast milk into soap and stir.
- Add any desired essential oils, fragrances, and colorants and stir until homogenous.
- Pour soap mixture into molds and leave to cool and harden.
- Store finished soaps in a dry, airtight container.
Because this method combines breast milk with an already existing soap base, the milk component of the soap will not be properly preserved. Eventually, the soaps may start to smell bad, even with the addition of fragrances. Discard and discontinue your use of any breast milk soap that has taken on an odor.
Because of this, you may want to make the soaps in smaller batches and smaller molds to keep the finished soaps from going bad. Storing the soaps in the refrigerator within an airtight container may also help prolong the shelf life of breast milk soap.
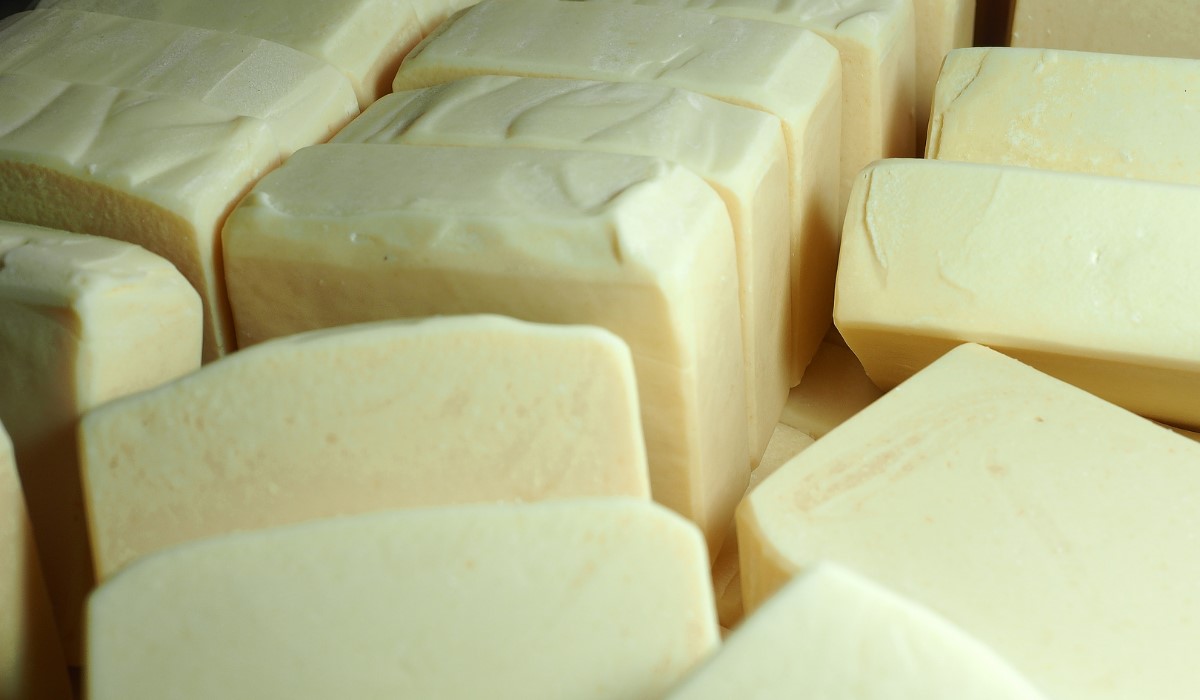
2. Cold Process Breast Milk Soap
A cold process breast milk soap takes longer to make and uses more ingredients, but may be more stable than a melt and pour process. Cold process soap uses lye solution and oils to preserve additives such as breastmilk which would otherwise go bad.
Materials:
Silicone Soap Mold
Immersion Blender
Kitchen Thermometer
Kitchen Scale for Weighing Ingredients
Safety Gear (Gloves and Googles)
Ingredients:
10.5 oz Breast Milk Frozen Into Ice Cubes
4.3 oz Lye
32 oz Olive Oil
1.4 oz Topical Grade, Baby-safe Essential Oil (optional)
- Place frozen breastmilk into a heat-proof plastic or stainless steel bowl (avoid glass), and place the bowl into an ice bath. The ice bath will keep the milk cold and prevent scorching when the lye is adde
- Slowly add lye into the bowl with frozen milk. Adding lye little by little decreases the chance of milk scorching.
- Stir continuously until all the lye is properly incorporated and dissolved. Set aside.
- Heat olive oil on the stove over a double boiler or in the microwave using 30-second increments until it reaches 100° Add essential oils.
- When the lye solution and olive oil are at roughly the same temperature, pour the lye solution through a strainer into the oil.
- Using an immersion blender, combine lye solution and oils until mixture reaches a trace (thick cake batter consistency).
- Pour soap mixture into silicon molds and tap against the counter to get rid of air bubbles.
- Place soap mold into the fridge to cool overnight.
- Leave soaps at room temperature for at least 24 hours before unmolding or cutting.
- Once the soaps have been unmolded, space them out onto parchment paper or greaseproof baking paper to cure in a well-ventilated area away from direct light for at least 6 weeks. This curing time allows any residual liquid to evaporate and also improves the soap’s lather.
Customizing Breast Milk Soap
When adding essential oils into any kind of soap, limit the quantity to 0.7 ounces per pound of soap for cold process soaps and 0.3 ounces per pound in melt and pour soaps, as using too much can lead to skin irritation.
Dried flowers make great aromatic add-ons to breast milk soap, but certain ones can turn dull and bleed colors into your soap. Try using dried herbs and flowers on top of your soap only instead of mixing them all the way through your soap bar.
Different types of cosmetic clay and exfoliants can also be added to your soap usually at a ratio of 1-2 teaspoons per pound of soap for clays and 1-2 tablespoons per pound for exfoliants. Clays are usually diluted in water before being added to soaps.
Take note that certain additives may change the cosmetic appearance of your soap and that some additives may be too harsh for your baby to use. If you decide to use any additives in your breast milk soap, you may want to do a small test batch to see how they react with your soap solutions before making regular-sized batches.
References
1. Berents, T. L., Rønnevig, J., Søyland, E., Gaustad, P., Nylander, G., & Løland, B. F. (2015). Topical treatment with fresh human milk versus emollient on atopic eczema spots in young children: A small, randomized, split body, controlled, blinded pilot study. BMC Dermatology 15, 7. doi: 10.1186/s12895-015-0027-9
2. Farahani, L. A., Ghobadzadeh, M., & Yousefi, P. (2013). Comparison of the effect of human milk and topical hydrocortisone 1% on diaper dermatitis. Pediatric Dermatology 30(6), 725-729. doi: 10.1111/pde.12118
3. Witkowska-Zimny, M., Kamińska-El-Hassan, E., & Wróbel, E. (2019). Milk therapy: Unexpected uses for human breast milk. Nutrients 11(5), 944. doi: 10.3390/nu11050944